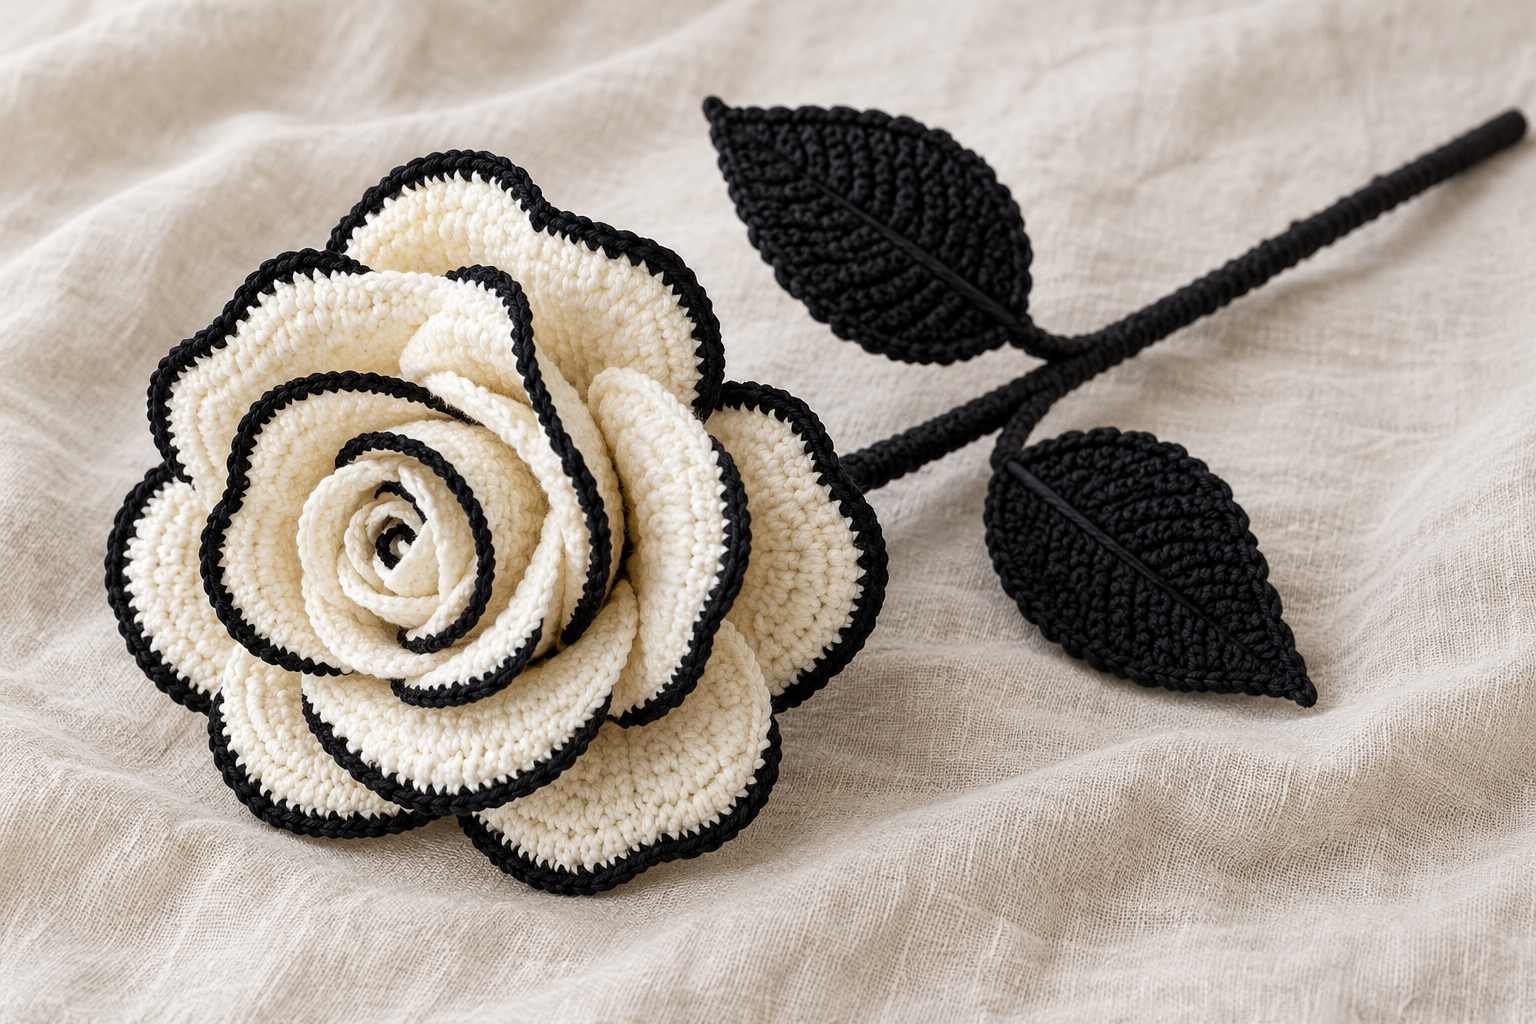
White Crochet Rose with Black Edging
CROCHET FLOWERS · ILLUSTRATED PATTERN GUIDE
Create a striking rose with white petals outlined in black, a black calyx, and dark leaves. Three petal sizes build a layered bloom, while yarn-wrapped wire supports the stem.
This English guide organises the supplied screenshots into clear stages. The stitch sequences and counts follow the reference, and the photographs are taken from those same images. Text remains selectable and copyable.
Hook: 1.75 mm9 petals3 leaves1 calyxUS terms
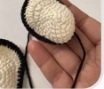
Materials and Parts
- YarnArt Jeans cotton-blend yarn, 50 g / 160 m: white shade 03 and black shade 53.
- 1.75 mm crochet hook.
- Sewing needle and scissors.
- Fabric glue or silicone adhesive suitable for your materials.
- Soft wire, 1.5 mm thick, approximately 30 cm for the main stem.
- Thin wire, 0.5 mm thick. The materials list gives approximately 40 cm; the leaf instructions specify approximately 20 cm per small leaf and 20-25 cm for the large leaf. Allow roughly 60-65 cm in total if making all three leaves as written.
Make three small petals, three medium petals, three large petals, one calyx, two small leaves, and one large leaf. The reference gives an approximate finished size of 10 inches / 26 cm; yarn and hook choice affect the result.
Stitch Guide and Pattern Conventions
| Round | Instructions | Count |
|---|---|---|
| MR | Magic ring | — |
| ch | Chain | — |
| sc | Single crochet | — |
| hdc | Half double crochet | — |
| dc | Double crochet | — |
| tr | US treble crochet | — |
| sl st | Slip stitch | — |
| inc | 2 stitches of the stated type in one stitch | — |
| dec | Decrease two stitches into one | — |
Single crochet: insert the hook, yarn over and pull up a loop; yarn over and pull through both loops.
Half double crochet: yarn over, insert the hook and pull up a loop; yarn over and pull through all three loops.
Double crochet: yarn over, insert the hook and pull up a loop; pull through two loops twice.
Treble crochet: yarn over twice, insert the hook and pull up a loop; yarn over and pull through two loops three times.
Increases: sc inc means two sc in one stitch. hdc inc means two hdc in one stitch; dc inc means two dc in one stitch.
Square brackets: stitches inside [ ] are worked into the same stitch. Repeats marked with parentheses and a multiplication sign are repeated the stated number of times.
Joining: although the introduction calls this an amigurumi method, the detailed rounds explicitly join with a slip stitch. Follow those joins. Unless stated otherwise, chain 1 to begin the next round. The preparation chain and joining slip stitch are separate from the stated stitch totals. Mark the first stitch and move the marker each round.
Part 1: Small Petals — Make 3
STEP 01
Build the Small Petal Base
Start with white shade 03 and a magic ring. Work the listed rounds, joining with a slip stitch and chaining 1 after each round shown. Each increase adds one stitch to the total.
| Round | Instructions | Count |
|---|---|---|
| 1 | 5 sc in MR; sl st, ch 1 | 5 |
| 2 | 5 inc; sl st, ch 1 | 10 |
| 3 | (1 sc, 1 inc) × 5; sl st, ch 1 | 15 |
| 4 | (2 sc, 1 inc) × 5; sl st, ch 1 | 20 |
| 5 | (3 sc, 1 inc) × 5; sl st, ch 1 | 25 |
STEP 02
Shape and Outline the Small Petal
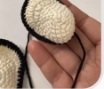
In Round 6, every [2 hdc] group is worked into one existing stitch. Round 7 widens the top with eleven dc increases. Change to black for the final round, then fasten off and leave a long tail. Make three matching small petals.
| Round | Instructions | Count |
|---|---|---|
| 6 | 9 sc, [2 hdc], 1 hdc, [2 hdc], 1 hdc, [2 hdc], 1 hdc, [2 hdc], 9 sc; sl st, ch 1 | 29 |
| 7 | 9 sc, (1 dc inc) × 11, 9 sc; sl st, ch 1 | 40 |
| 8 | Black: 40 sc; sl st | 40 |
Part 2: Medium Petals — Make 3
STEP 03
Build the Medium Petal Base
Start with white shade 03. Join with a slip stitch and chain 1 after each of these rounds. In each repeat, work the plain sc stitches before placing the increase in the following stitch.
| Round | Instructions | Count |
|---|---|---|
| 1 | 6 sc in MR; sl st, ch 1 | 6 |
| 2 | 6 inc; sl st, ch 1 | 12 |
| 3 | (1 sc, 1 inc) × 6; sl st, ch 1 | 18 |
| 4 | (2 sc, 1 inc) × 6; sl st, ch 1 | 24 |
| 5 | (3 sc, 1 inc) × 6; sl st, ch 1 | 30 |

STEP 04
Shape and Outline the Medium Petal
For Round 6, repeat an hdc increase followed by one hdc six times between the sc sections. For Round 7, work sixteen dc increases across the top. Change to black for Round 8, fasten off and leave a long tail. Make three.
| Round | Instructions | Count |
|---|---|---|
| 6 | 9 sc, (1 hdc inc, 1 hdc) × 6, 9 sc; sl st, ch 1 | 36 |
| 7 | 10 sc, 16 dc inc, 10 sc; sl st, ch 1 | 52 |
| 8 | Black: 52 sc; sl st | 52 |

Part 3: Large Petals — Make 3
STEP 05
Build the Large Petal Base
Start with white shade 03. The first five rounds match the medium-petal base. Round 6 adds another increase round to reach 36 stitches.
| Round | Instructions | Count |
|---|---|---|
| 1 | 6 sc in MR; sl st, ch 1 | 6 |
| 2 | 6 inc; sl st, ch 1 | 12 |
| 3 | (1 sc, 1 inc) × 6; sl st, ch 1 | 18 |
| 4 | (2 sc, 1 inc) × 6; sl st, ch 1 | 24 |
| 5 | (3 sc, 1 inc) × 6; sl st, ch 1 | 30 |
| 6 | (4 sc, 1 inc) × 6; sl st, ch 1 | 36 |

STEP 06
Shape and Outline the Large Petal
Work eight repeats of hdc inc followed by one hdc in Round 7. Round 8 adds twenty dc increases. Change to black for Round 9. Fasten off, leave a long tail and make three large petals.
| Round | Instructions | Count |
|---|---|---|
| 7 | 10 sc, (1 hdc inc, 1 hdc) × 8, 10 sc; sl st, ch 1 | 44 |
| 8 | 12 sc, 20 dc inc, 12 sc; sl st, ch 1 | 64 |
| 9 | Black: 64 sc; sl st | 64 |

Part 4: Black Calyx — Make 1
STEP 07
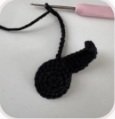
Crochet the Calyx Center
Use black shade 53. Make a magic ring and work the center before adding the pointed extensions. Round 4 is an even round with no increases.
| Round | Instructions | Count |
|---|---|---|
| 1 | 6 sc in MR; sl st, ch 1 | 6 |
| 2 | 6 inc; sl st, ch 1 | 12 |
| 3 | (1 sc, 1 inc) × 6; sl st, ch 1 | 18 |
| 4 | 18 sc; sl st, ch 1 | 18 |


STEP 08
Work the Calyx Extensions
For Round 5, repeat the following sequence five times, as stated in the supplied pattern:
- Chain 13 and turn.
- Starting in the second chain from the hook, work 1 sl st, 2 sc, 2 hdc, 3 dc and 4 tr down the chain.
- At the bottom/foundation chain, skip 2 stitches, slip stitch into the next stitch, then work 1 slip stitch.
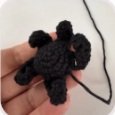
Fasten off and leave a long tail. Use the reference photographs for the attachment positions: the supplied shorthand does not fully clarify the advance around the 18-stitch center.



Part 5: Black Leaves
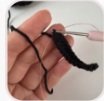
Use black shade 53. Work around both sides of the foundation chain. From the round after Round 1, enclose thin wire inside the stitches. Keep the wire covered and leave the stem ends for assembly.STEP 09
Small Leaf: Foundation and Round 1
Make two small leaves. Prepare approximately 20 cm of 0.5 mm wire per leaf.
- Chain 11.
- Starting in the second chain from the hook, work 9 sc.
- Work 3 sc into the end chain to turn around the tip.
- Continue along the opposite side: 8 sc, then 1 sc increase.
- Join with a slip stitch and chain 1. Total: 22 sc.
STEP 10
Small Leaf: Wired Round 2
Position the thin wire between the hook and yarn so the stitches enclose it. Work:
1 sc, 1 hdc, 1 dc, 4 tr, 1 dc, 1 hdc, 1 sc, [3 sc in the next stitch], 1 sc, 1 hdc, 1 dc, 4 tr, 1 dc, 1 hdc, 2 sc.
Join with a slip stitch and chain 1. Total: 24 stitches.


STEP 11
Small Leaf: Decorative Edge and Stem
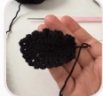
Round 3: repeat (1 sc, chain 2) eleven times. In the next stitch, work [1 sc, chain 2, 1 sc]. Then repeat (chain 2, 1 sc) twelve times. Join with a slip stitch. The stated count is 25 worked sc, with the chain spaces separate.
Fasten off and leave a long black tail. Wrap the tail around the wire to form the small leaf stem and secure the end. Make two matching leaves.


STEP 12
Large Leaf: Foundation and Round 1
Make one large leaf. Prepare approximately 20-25 cm of 0.5 mm wire.
- Chain 13.
- Starting in the second chain from the hook, work 11 sc.
- Work 3 sc in the end chain.
- Along the opposite side, work 10 sc and 1 sc increase.
- Join with a slip stitch and chain 1. Total: 26 sc.
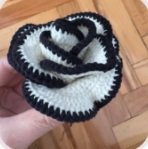
The screenshot for this section contains rose-assembly photos rather than a separate large-leaf close-up. The image below shows the finished rose and attached leaves.

STEP 13
Large Leaf: Wired Round 2
Enclose the thin wire while working the following sequence:
1 sc, 1 hdc, 1 dc, 6 tr, 1 dc, 1 hdc, 1 sc, [3 sc in the next stitch], 1 sc, 1 hdc, 1 dc, 6 tr, 1 dc, 1 hdc, 2 sc.
Join with a slip stitch and chain 1. Total: 28 stitches.STEP 14
Large Leaf: Decorative Edge and Stem
Round 3: repeat (1 sc, chain 2) thirteen times. In the next stitch, work [1 sc, chain 3, 1 sc]. Then repeat (chain 2, 1 sc) fourteen times. Join with a slip stitch. The stated count is 29 worked sc, with the chain spaces separate.
Fasten off and leave a long tail. Wrap the black tail around the wire and secure the end.
Part 6: Assemble the Rose
STEP 15
Attach the Three Small Petals
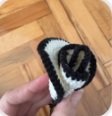
Take the long, thicker stem wire and apply adhesive at its tip. Apply a small amount of adhesive along the petal edges, then attach the small petals with slight overlap to form the rose center. Allow the joins to hold before adding the next layer.


STEP 16
Add Medium and Large Petals
Glue the three medium petals around the small-petal center. Then position and glue the three large petals around the outside. Check the arrangement before each join sets, keeping the black edges visible.

STEP 17
Fit the Calyx Beneath the Rose
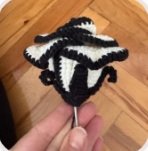
Slide the calyx onto the stem wire from its free end and bring it up to the petal bases. Apply adhesive inside each calyx extension and secure it against the petals.

STEP 18
Wrap the Main Stem and Add Leaves
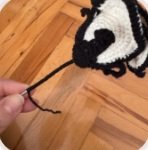
Start wrapping black yarn around the stem from the calyx. After approximately 5-6 cm, place the leaves at the chosen positions and continue wrapping over their wire stems to secure them.
A little adhesive between layers can provide extra stability. Continue to the end of the wire, secure the yarn with adhesive, and cover any exposed wire tip. Your rose is complete.

Quick Checks Before Finishing
- Small petals finish with 40 stitches each; medium petals with 52; large petals with 64.
- There are three petals of each size and nine petals in total.
- The leaves use thinner wire than the main stem.
- All black borders are complete before the petals are assembled.
- Wire ends and yarn tails are covered and secure.
Crochet Flowers Tutorial